Your Cinematographer Lens Selection Recommendation
You’ve finally landed a gig that deserves your best visual work. The location is locked, the lighting plan is solid, but there’s one decision that can make or break every frame: which lens to mount on the camera. Every cinematographer has felt that moment of hesitation—too many choices, too little time, and a budget that only stretches so far. The right lens selection isn’t about following a formula. It’s about understanding what each piece of glass does to a story.
What makes a lens “right” for a scene?
A lens does more than control exposure. It shapes the audience’s relationship with the subject. A wide-angle lens pulls viewers into the environment, making them feel part of the action. A telephoto lens compresses space and isolates a character’s emotion. Your job is to match that optical personality to the narrative beat you’re shooting. If the scene demands intimacy, a 50mm or 85mm prime often delivers a natural, unforced closeness. For a sweeping landscape or a cramped interior, a 24mm or 35mm lets the audience breathe—or feel trapped, depending on where you place the camera.
Start by asking one question: What do I want the audience to feel in this moment? The answer guides your focal length choice more reliably than any spec sheet.
Prime vs. zoom: the practical trade-off
Many cinematographers swear by primes for their sharpness and wide apertures. A fast prime like a 35mm f/1.4 lets you shoot in low light and achieve that creamy background separation. Zooms, on the other hand, save time on set. You can reframe without moving the camera, which speeds up coverage during dialogue or documentary work. Neither is superior. The best choice depends on your shooting style and the project’s pace.
For a narrative film with controlled lighting, primes give you consistent quality and force thoughtful composition. For a run-and-gun documentary or a multi-camera interview setup, a 24-70mm f/2.8 zoom gives you flexibility without swapping lenses constantly. Know your production’s rhythm before you pack your kit.
How aperture and depth of field affect your frame
Depth of field isn’t just a stylistic preference—it’s a storytelling tool. A shallow depth of field (say, f/1.4 on a full-frame sensor) isolates the subject from a busy background. That’s perfect for a close-up where you want the audience to focus on a single expression. A deeper depth of field (f/8 or f/11) keeps the environment sharp, which works well for establishing shots or scenes where context matters.
Remember that aperture also influences your exposure. If you’re shooting outdoors in bright sun, a wide aperture might force you to use neutral density filters. If you’re in a dimly lit interior, a fast lens can save your shot without adding noise. Match the lens’s maximum aperture to the lighting conditions you actually expect on set, not just the ones you wish for.
Common mistakes when selecting lenses
One frequent error is choosing a lens based purely on its brand name or price. A vintage Soviet 50mm might have character that a sterile modern lens lacks. Test your options. Rent a few before you commit.
Another mistake: forgetting about focus pull mechanics. If your lens has a long focus throw, pulling focus smoothly is easier—but it also takes more time. A short throw works fast but requires more precision. For narrative work, longer throw is often safer. For run-and-gun, short throw can be a lifesaver.
And never ignore the sensor format. A lens designed for full-frame will behave differently on a Super 35 sensor. The crop factor changes the effective focal length, so a 35mm on a Super 35 camera becomes roughly a 50mm equivalent. Plan your shots with the actual field of view in mind, not just the numbers printed on the barrel.
Building a lens kit that works for you
You don’t need twenty lenses. Start with a core set that covers the focal lengths you use most. Many cinematographers build around a 35mm, 50mm, and 85mm prime set—or a single zoom like a 24-70mm. From there, add specialty glass as projects demand: a macro lens for product shots, a tilt-shift for architectural corrections, or an anamorphic for that cinematic squeeze.
Label your lenses clearly and store them in a padded case. A simple labeling system (color-coded tape, lens ID numbers) saves time when you’re swapping glass on a dark set.
When to adapt and when to stay native
Lens adapters open up a world of vintage glass and different mount systems. But they introduce potential issues: infinity focus problems, electronic communication failures, or added bulk. If you’re on a tight schedule, native mount lenses reduce risk. If you have time to test, adapting lenses can give you a unique look that sets your work apart. Always bring a backup native lens if you plan to adapt on a paid job.
Think of lens selection as part of your preproduction workflow, not a last-minute decision. Just as you’d carefully draft an authorization letter for a critical shoot, or petition for a change in crew roles with clear documentation, your lens choice deserves intentional thought. A lens recommendation from a trusted colleague can save time, but you still need to test it in your own context. Finalizing a decision on glass is like approving a final draft—once it’s locked, you work with what you’ve chosen. Supporting your choice with experience and testing makes the decision solid.
Practical next steps
Before your next shoot, grab your camera and a few lenses. Walk through a scene you’ll actually be filming. Try the same shot with a 35mm, then a 50mm, then a 70mm. Notice how the background changes, how the subject’s expression reads differently at each focal length. That hands-on experience is what builds real lens intuition. The more you test, the less you guess. And the less you guess, the more time you have to focus on what really matters—telling the story.
Useful Writing Samples
Your Cinematographer Lens Selection Recommendation
Recommendation for Prime Lenses on Drama Feature
To: Director of Photography Search Committee From: Helena Marchetti, Producer Date: March 12, 2025
I wholeheartedly recommend a set of Zeiss Supreme Prime lenses for the upcoming drama feature Silent Echoes. These lenses deliver the precise sharpness and creamy bokeh needed for intimate close-ups, while maintaining a gentle contrast that flatters skin tones. During our pre‑production tests, the 35mm and 50mm focal lengths provided the emotional depth the script demands.
Key advantages:
Consistent T‑stop across the set simplifies lighting changes.
Minimal breathing enhances focus pulls in dialogue scenes.
Compact housing suits our handheld and gimbal shots.
The committee should also consider the 85mm for its flattering compression in hero shots. These primes will elevate the visual storytelling without overwhelming the budget.
Endorsement of Zoom Lenses for Documentary
To: Documentary Unit Heads From: Alex Chen, Senior Cinematographer Date: March 10, 2025
For our fast‑paced documentary on urban migration, I strongly endorse the Canon CN7×17 KAS S – a 17‑120mm zoom. This lens offers the flexibility to capture fleeting moments without repositioning, critical in crowded marketplaces and narrow alleyways.
Why this zoom fits the project:
Wide‑angle to telephoto reach (17‑120mm) covers establishing shots and candid interviews.
Built‑in optical stabilisation reduces rig weight for long handheld days.
Robust weather sealing withstands dust and light rain.
We paired it with a 50mm prime for low‑light interviews; the zoom’s T2.8 aperture performed admirably at dusk. This combination ensures we never miss a story beat.
Recommendation for Vintage Lenses for Period Piece
To: Costume & Set Design Team From: Isabelle Torres, Director Date: March 8, 2025
For our 1920s period piece Gilded Dreams, I recommend using re‑housed Kowa anamorphic lenses or vintage Super Baltars. These lenses produce the characteristic flares and soft halation that evoke early cinema.
On the recent test shoot, the 40mm and 75mm gave the ballroom scenes a painterly glow, while the single‑coating flared beautifully against chandeliers. The slight chromatic aberration at wide apertures actually enhances the era’s romantic look.
Potential challenges and solutions:
Low contrast – compensate with lighting ratios and diffusion.
Inconsistent bokeh – embrace it as period texture.
These lenses will authentically transport the audience to the Jazz Age.
Lens Selection Recommendation for Low-Light Scenes
To: Gaffer & Key Grip From: Marcus Rivera, Cinematographer Date: March 6, 2025
For the night exterior sequences in our noir thriller, I recommend using the Cooke Speed Panchro S4/i primes – particularly the 32mm T1.4 and 50mm T1.4. These lenses deliver a wide aperture without losing edge focus, crucial for practical‑only lighting.
Comparison with alternatives:
Lens
Max Aperture
Weight
Distortion
Cooke S4/i 32mm
T1.4
760g
<2%
Zeiss Ultra Prime 35mm
T1.9
810g
<1%
Leica Summilux-C 35mm
T1.4
890g
<1.5%
The Cookes’ crispness at T1.4 allows me to shoot with minimal fill light, maintaining deep shadows while retaining detail in actors’ eyes. The matching T‑stop across the set means consistent exposure when swapping focal lengths.
Recommendation for Anamorphic Lenses for Epic
To: Financing Partners From: David Okonkwo, Producer Date: March 5, 2025
I recommend renting the ARRI Alura Anamorphic / Studio set (50mm, 75mm, 100mm, 135mm) for our epic fantasy Emberlands. These lenses provide the distinctive 2.39:1 aspect ratio and horizontal flares that audiences expect from high‑budget adventures.
Our on‑set tests showed:
Minimal chromatic aberration even at wide apertures.
Smooth manual iris control for exposure ramping.
Consistent focus marks across all focal lengths.
The 50mm T2.3 delivered magnificent sunstar effects against backlit forests. The anamorphic compression also makes landscape compositions feel grander. This lens package will justify the epic visual scale we pitched to investors.
Professional Recommendation for Lens Package Rental
To: Rental House Manager From: Nina Patel, Cinematographer Date: March 3, 2025
I am writing to recommend that LensWorks add the Leica Summilux‑C prime set to their rental inventory. Over the past year I have used these lenses on three commercials and a short film, and they consistently impress with their lightweight build and reliable T1.4 performance.
Advantages for the rental house:
High demand from independent filmmakers and TV crews.
Compact size fits easily into standard cases.
Durable construction reduces maintenance costs.
Below is a quick valuation based on current market rates:
Focal Length
Purchase Price
Monthly Rental Revenue
35mm
$22,000
$1,800
50mm
$21,000
$1,700
85mm
$24,000
$2,000
Adding this package will attract cinematographers who value speed and portability.
Recommendation for Lenses for a Music Video
To: Artist & Record Label From: Jordan Kim, Director of Photography Date: March 1, 2025
For the music video Neon Pulse, I recommend using a mix of vintage and modern lenses: the Russian Lomo OKC‑4 35mm for wide shots and a Canon K‑35 50mm for close‑ups. The Lomo gives that glowy, dreamy look perfect for colorful lighting; the K‑35 delivers punchy contrast for the chorus cuts.
Lens breakdown per scene:
Verse: Lomo 35mm at T2.8 – soft edges complement haze and smoke.
Chorus: K‑35 50mm at T1.8 – crisp iris reflections on the singer.
Bridge: Tokina 28‑70mm zoom for the dolly pull‑out.
This combination creates a dynamic visual rhythm that mirrors the track’s energy. The slight imperfection of the vintage glass adds character without distracting.
Student Recommendation for Budget Lens Kit
To: Film School Equipment Committee From: Professor Lisa Gamble Date: February 28, 2025
I recommend that our cinematography students start with a set of Rokinon DS Xeen primes (24mm, 35mm, 50mm, 85mm). These lenses offer a solid balance of quality and cost, allowing students to learn exposure, focus, and lens characteristics without breaking the school budget.
Why Xeen suits our program:
Uniform gear rings make follow‑focus training consistent.
T1.5 aperture lets students practice shallow depth‑of‑field techniques.
All‑metal housing withstands the wear of multiple classes.
In my Advanced Cinematography course, students using the Xeens produced images comparable to much more expensive sets when controlled lighting was applied. I strongly suggest purchasing a matched set rather than mixing brands.
Recommendation for Matched Set of Lenses for Commercial
To: Agency Creative Director From: Rachel Lee, Commercial Cinematographer Date: February 25, 2025
For the upcoming national car commercial, I recommend using the Zeiss CP.3 XD package (28mm, 50mm, 85mm, 135mm). These lenses provide a consistent, clean image across the set, crucial for matching multiple camera setups efficiently.
Key specs for your review:
Lens
Aperture
Near Focus
Weight
28mm
T2.1
0.3m
540g
50mm
T2.1
0.4m
570g
85mm
T2.1
0.8m
620g
135mm
T2.2
0.9m
695g
All four lenses share the same 95mm front diameter, simplifying matte box and filter changes. The XD (extended data) contacts transmit metadata directly to the camera, reducing post‑production workflow errors.
Recommendation for Specialty Lenses (Macro/Tilt-shift)
To: Visual Effects Supervisor From: Carlos Mendez, Cinematographer Date: February 22, 2025
I recommend incorporating the Canon TS‑E 90mm f/2.8 tilt‑shift macro and the Laowa 24mm f/14 probe lens for our highly detailed macro sequences. The TS‑E allows precision focus control on product minute details (e.g., clockwork gears), while the probe lens can crawl into tight spaces for unique perspectives.
Why these specialty lenses are essential:
Tilt‑shift: Correct perspective distortion on glossy surfaces; shift function for compositing multiple passes.
In tests, the TS‑E at f/8 delivered edge‑to‑edge sharpness for tabletop product shots. The probe lens at f/16 created a dramatic depth of field for the opening sequence. These lenses elevate the tactile realism we need.
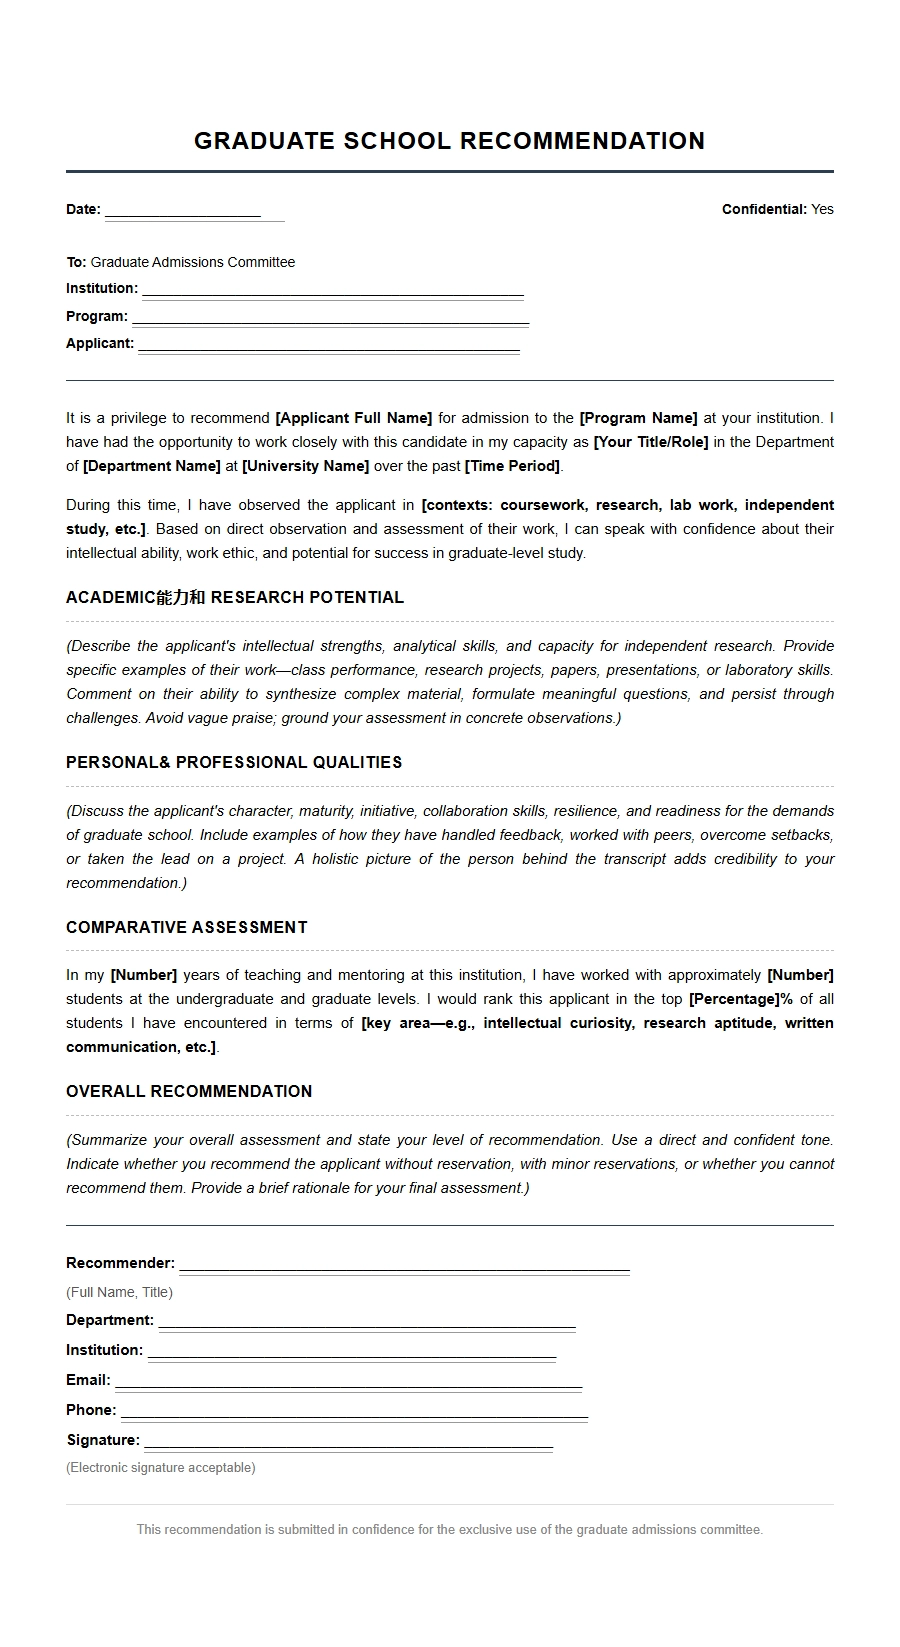 Format for Graduate School Faculty Recommendation Letters
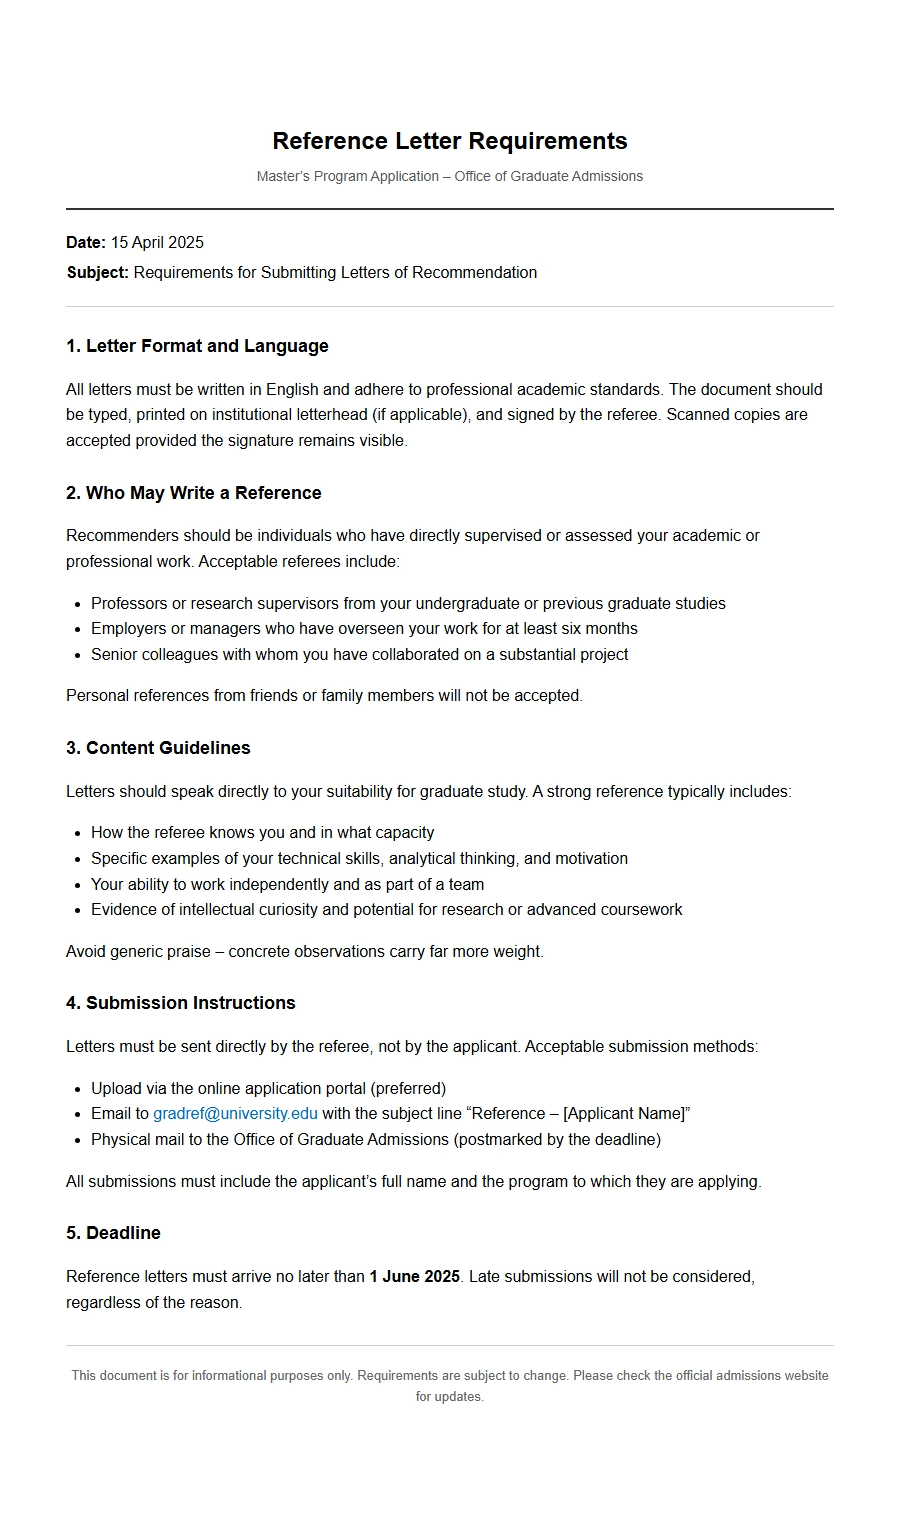 Master's Program Reference Letter Requirements
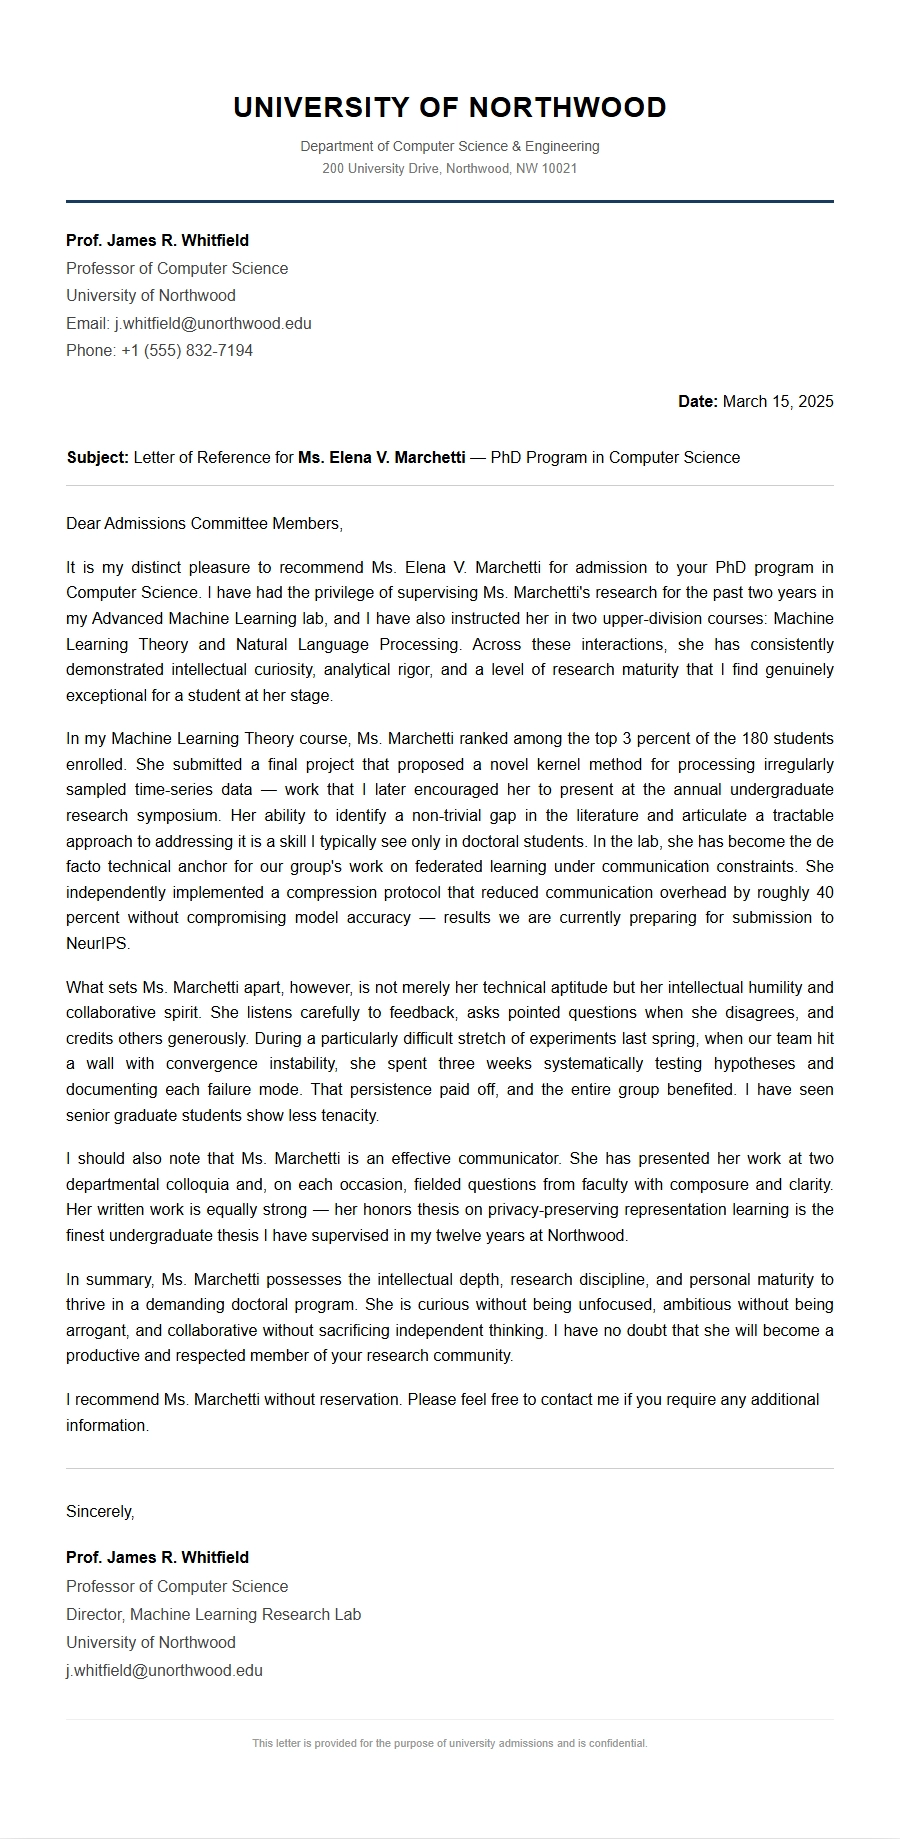 The Perfect Structure for a University Reference Letter
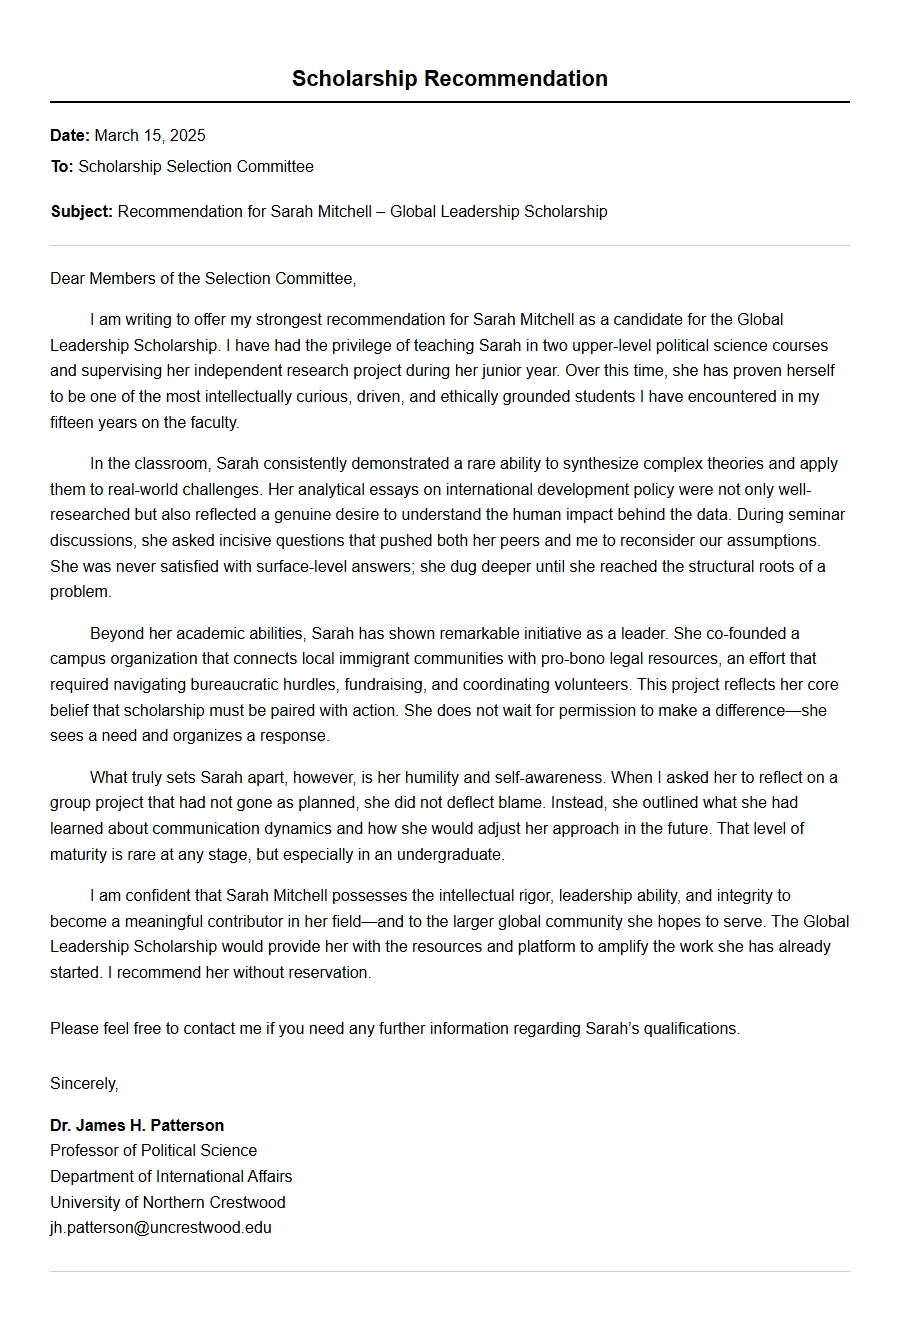 scholarship essay recommendation portion - Recommendation Letters
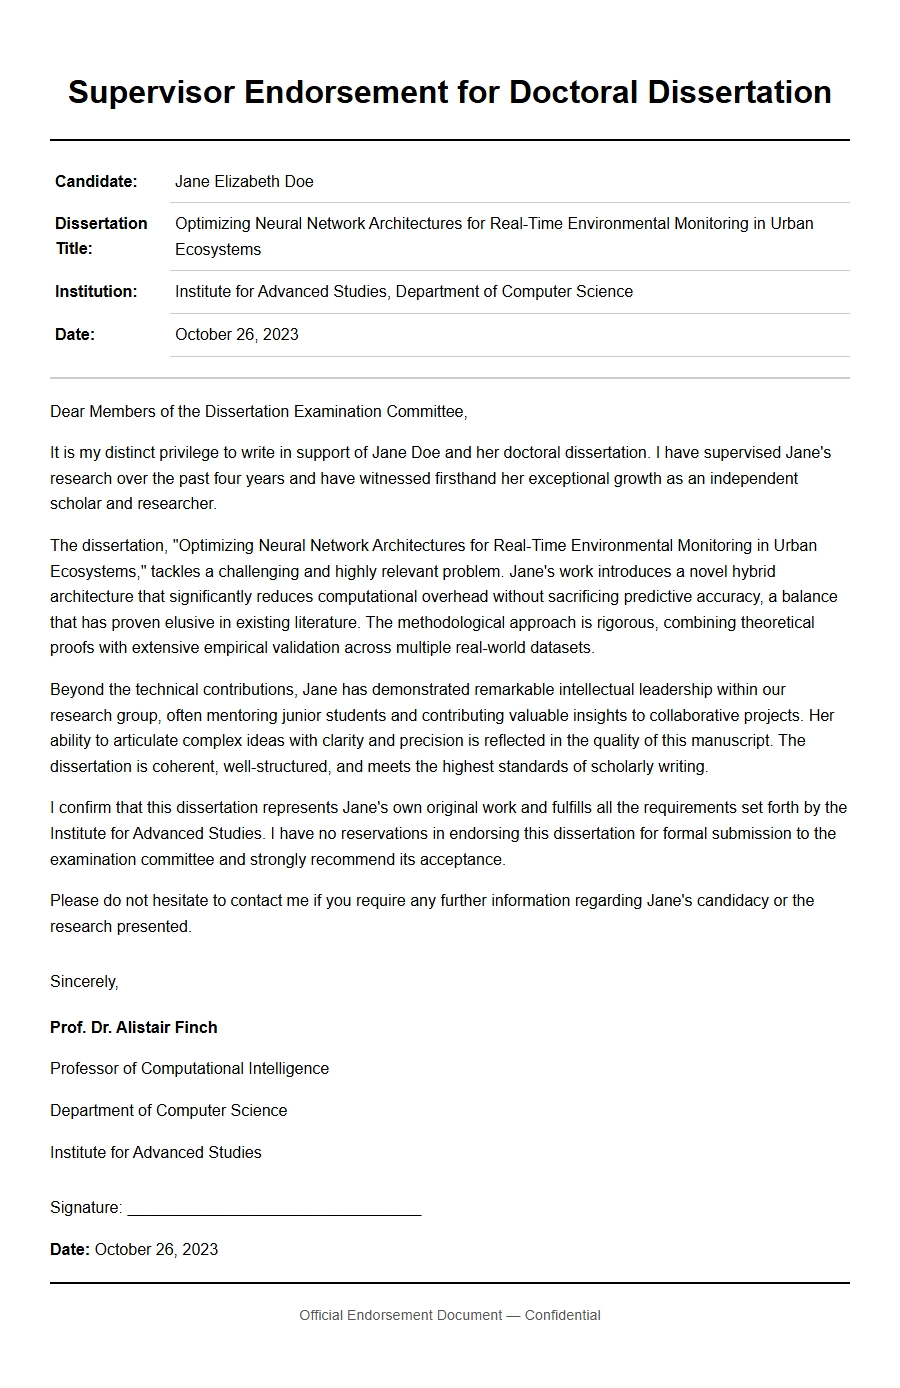 Sample PhD Supervisor Endorsement Letter
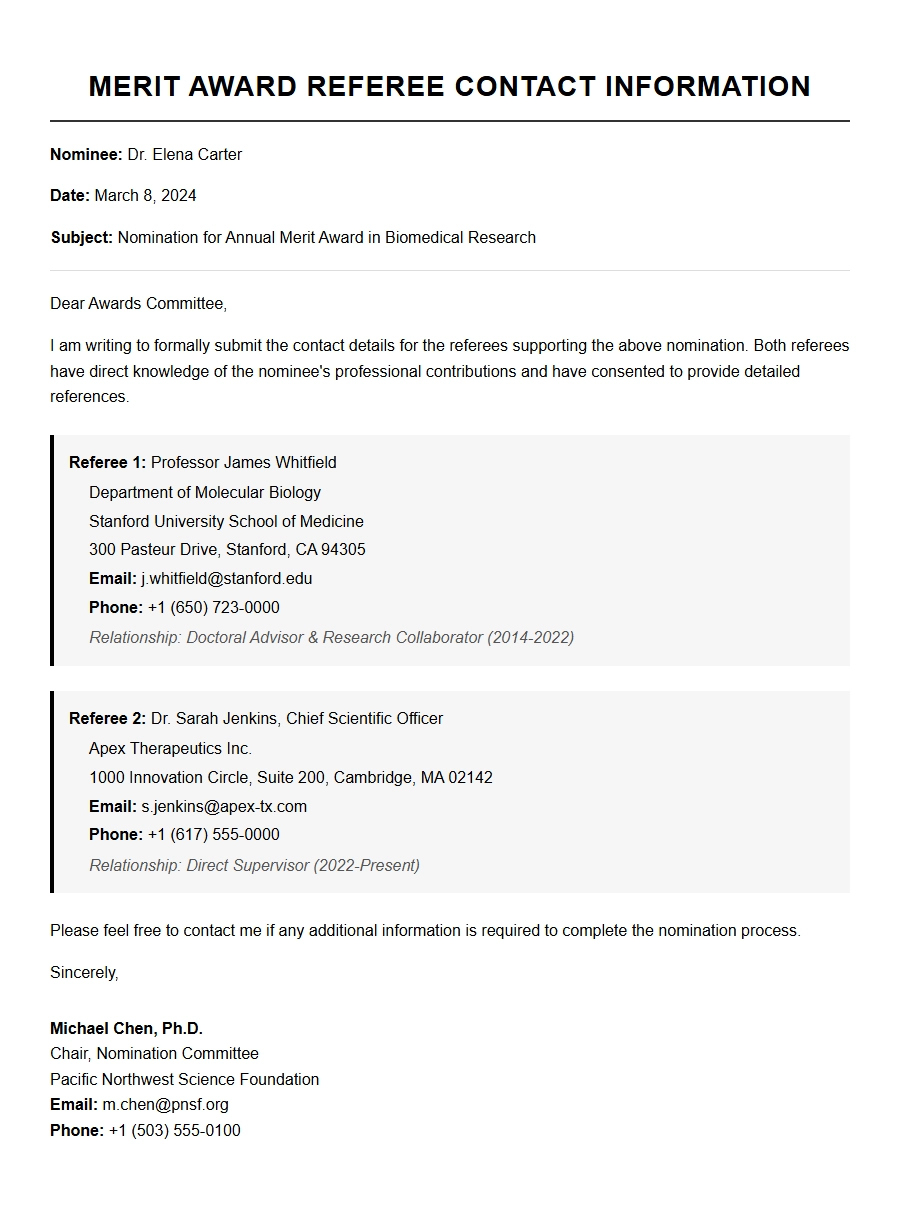 How to Find Your Merit Award Referee Contact Info